Are you migrating from Google Search Appliance, Endeca, or some other legacy search solution to Solr or Elasticsearch? Want to prove the migration succeeded without worrying about lost customers, revenue, and the like? With Quepid, you can take a snapshot of the state of your products existing search results with a small amount of work. Then you’ll always have this snapshot to compare your new search solution to.
Quepid is able to perform this magic by accepting a CSV file describing your legacy search engines results, which you can use as your baseline. In this post I’ll walk you through how to do this.
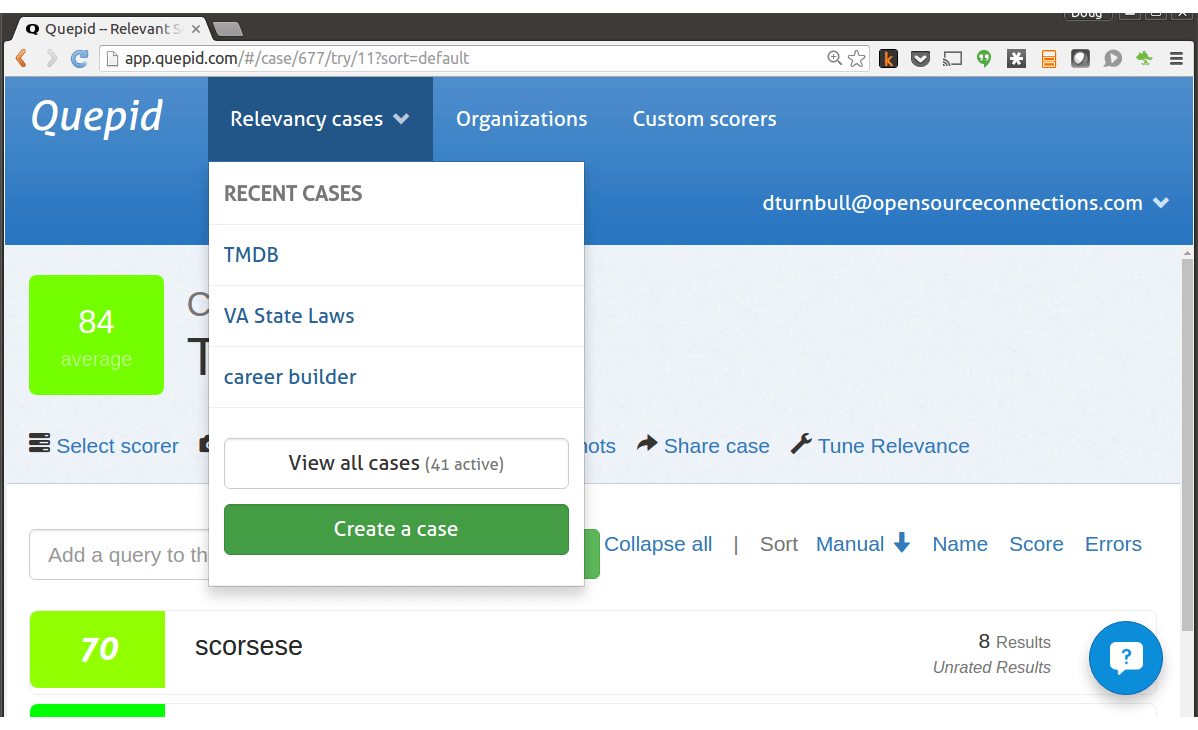
Your first step is to create a case for the problem you’re solving. Under “Relevancy Cases” click Create a Case
Walk through the steps in the Wizard, here we’ll just use the default Virginia State Laws (“statedecoded”) data set.
The Solr URL you want is http://quepid-solr.dev.o19s.com/solr/statedecoded/select.
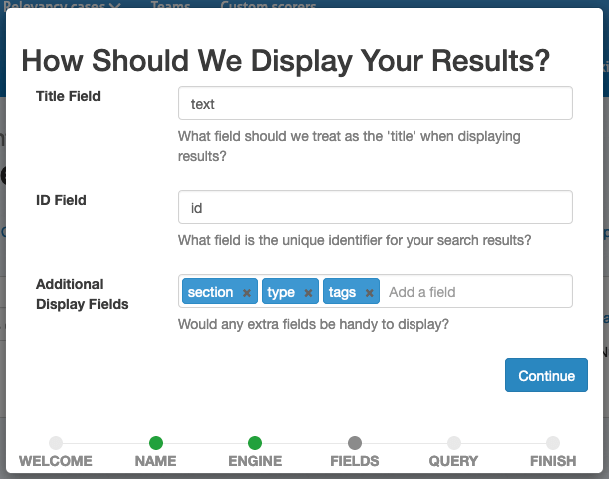
Then pick the fields you need:
Here we’ve created “state laws” case using Quepid’s demo Solr instance, with a single query: law.
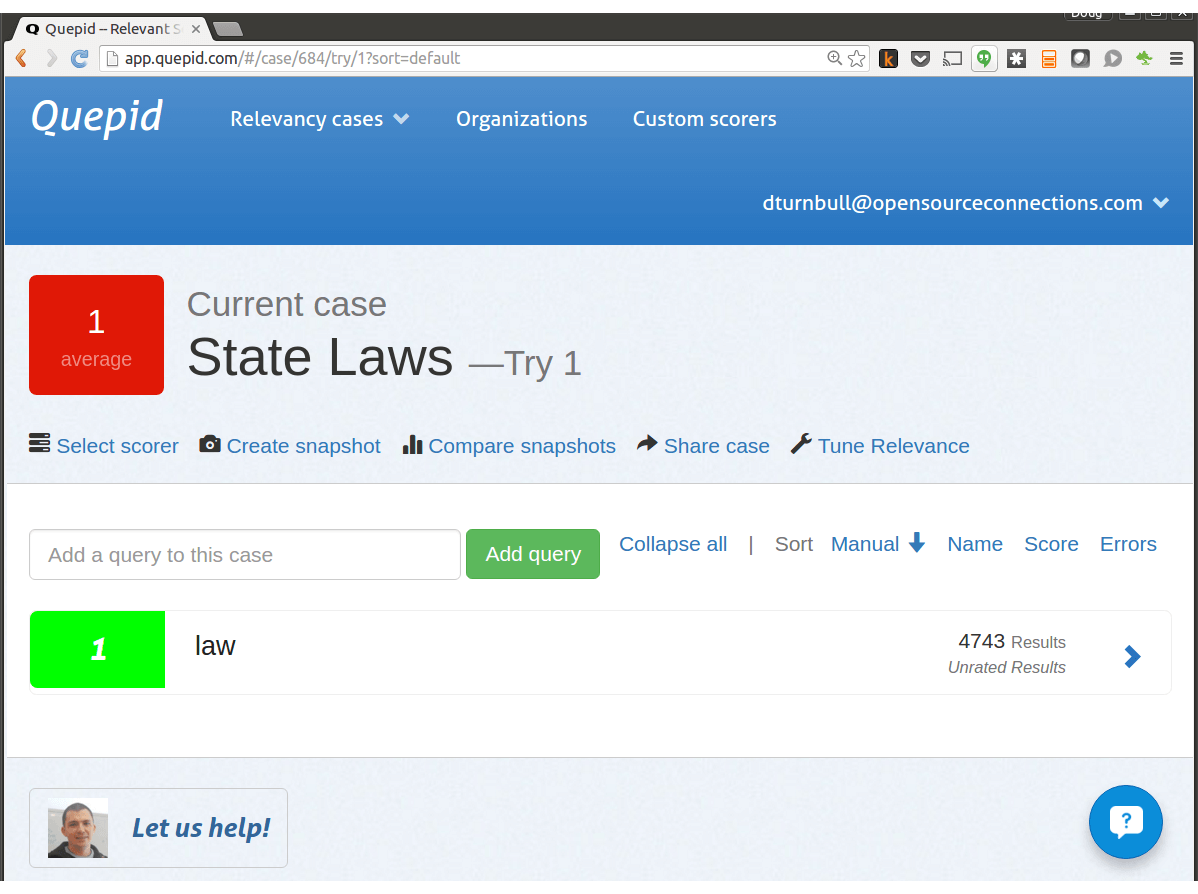
Note the case number in the URL bar (above its 684).
Next navigate to the cases screen to review all of your cases. To do this click Relevancy Cases and choose View All Cases
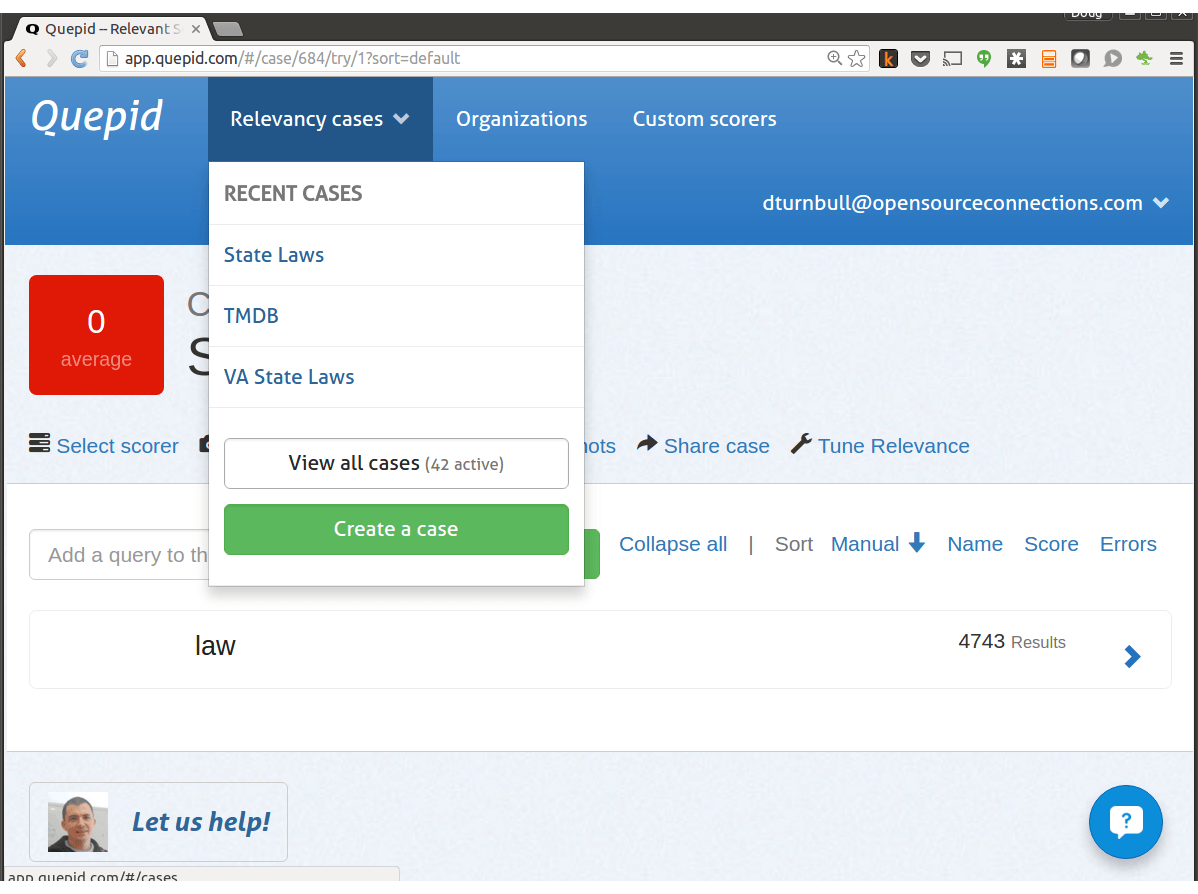
You should see our lovely Cases Dashboard screen.
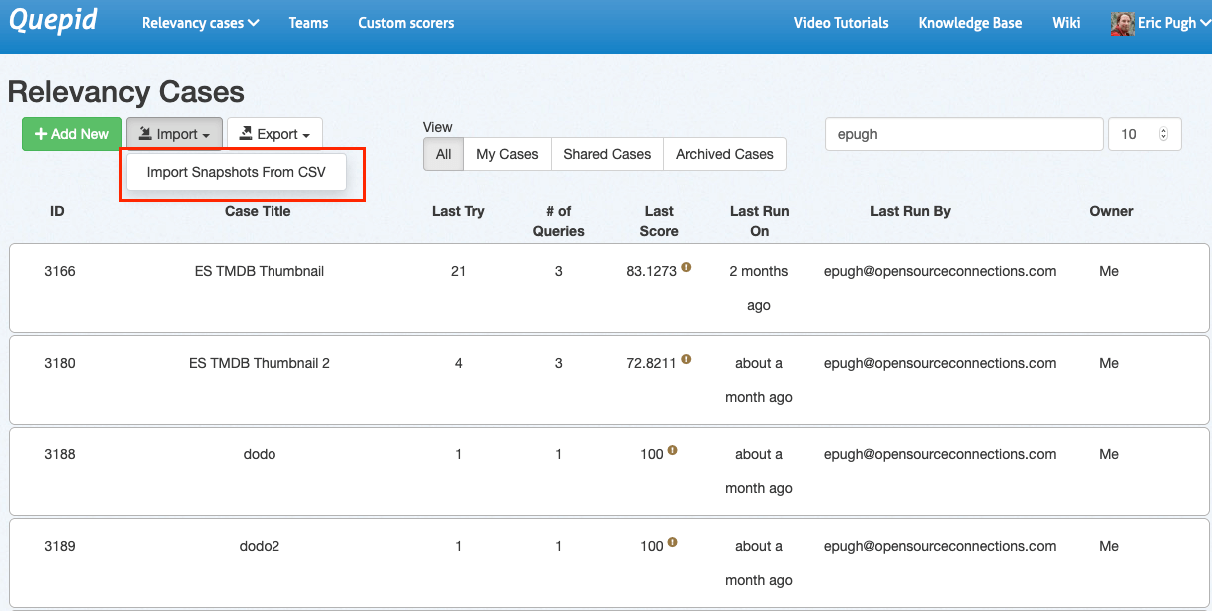
You’ll be clicking Import Snapshots From CSV to tell Quepid about your legacy search results. But let’s overview the CSV format. Here’s a sample for snapshot CSV our Virginia State laws
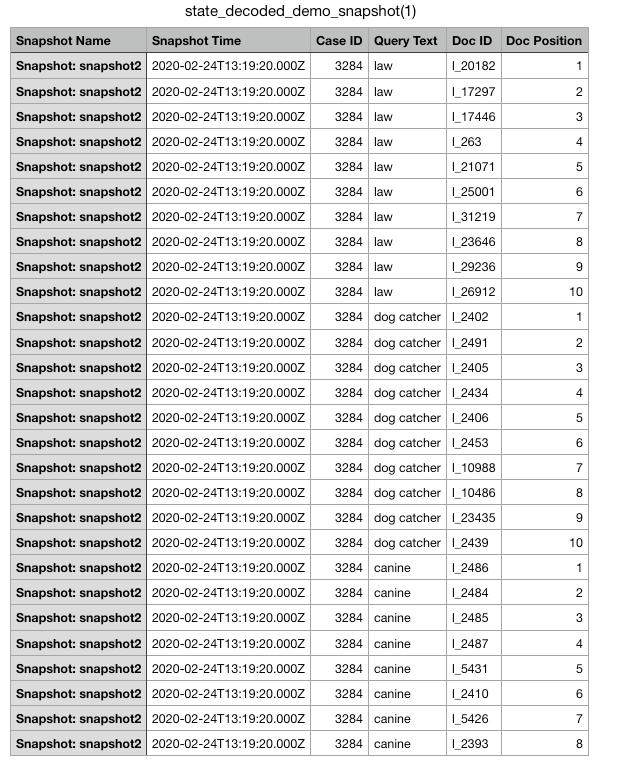
Let’s overview the headers, and how you’ll need to format data for importing. You’ll note each line in the CSV corresponds to a specific search result that occurred at a specific position for a specific query. With that in mind, here
- Snapshot Name – If your CSV simply has one snapshot, then give every row the name of the snapshot your importing. A good name might be “Google Search Appliance Baseline”
- Snapshot Time – It’s sometimes handy to track the date the snapshot was taken. Put today’s date so you can remember when the snapshot was taken
- Case ID – The case number you just created. The snapshot will live within this case
- Query Text – What query string this entry corresponds to. These queries will be automatically added to the case
- Doc Id – What is the unique identifier for this result. This MUST correspond to your Solr unique identifier as well.
- Doc Position – For the given query, what position did this document occur in
You can download the sample snapshot to follow along if you don’t want to create your own.
With your CSV file read, now click Import Snapshot Snapshots from CSV.
After reading the file, you should see this helpful prompt:
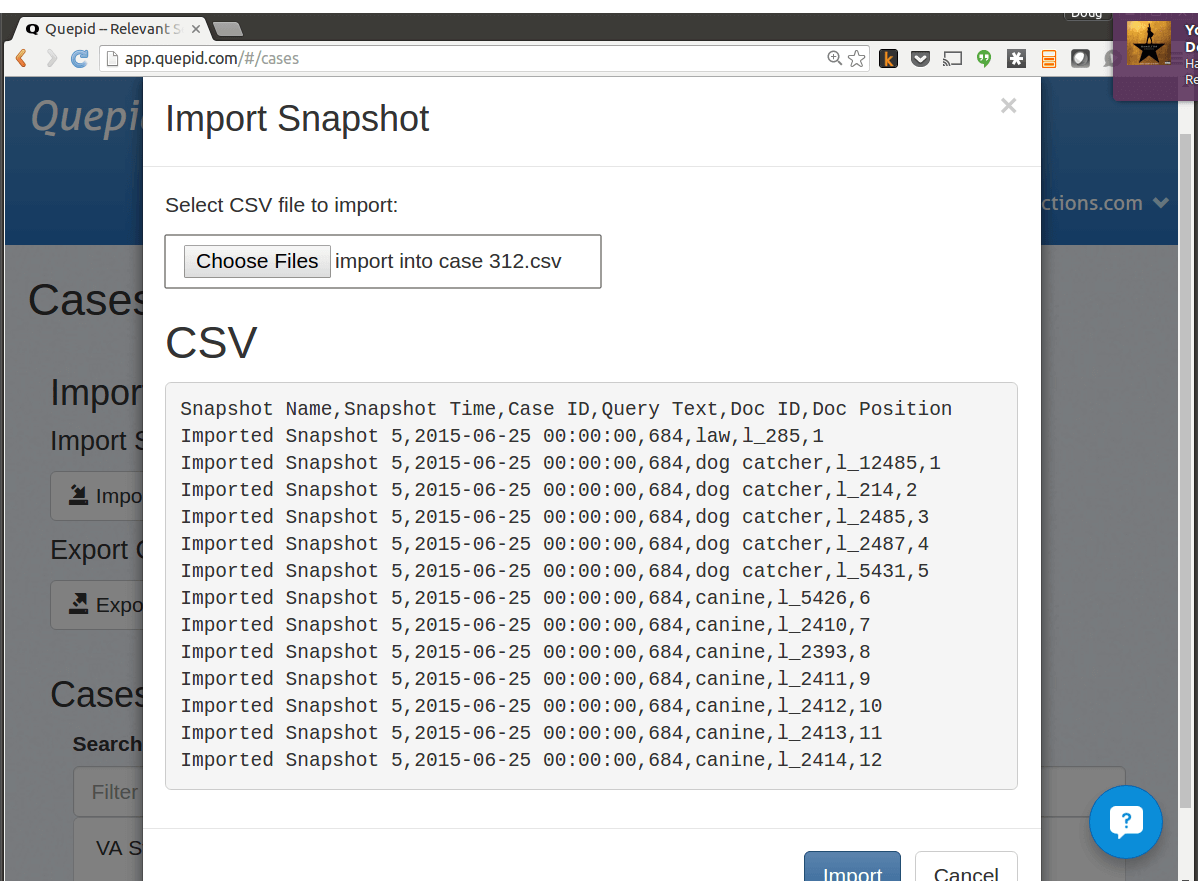
Click Import
Now to view the new data from our snapshot. First we navigate back to the screen for our case (here its “State Laws”). Clicking that, you’ll notice some of the queries from our snapshot have been added
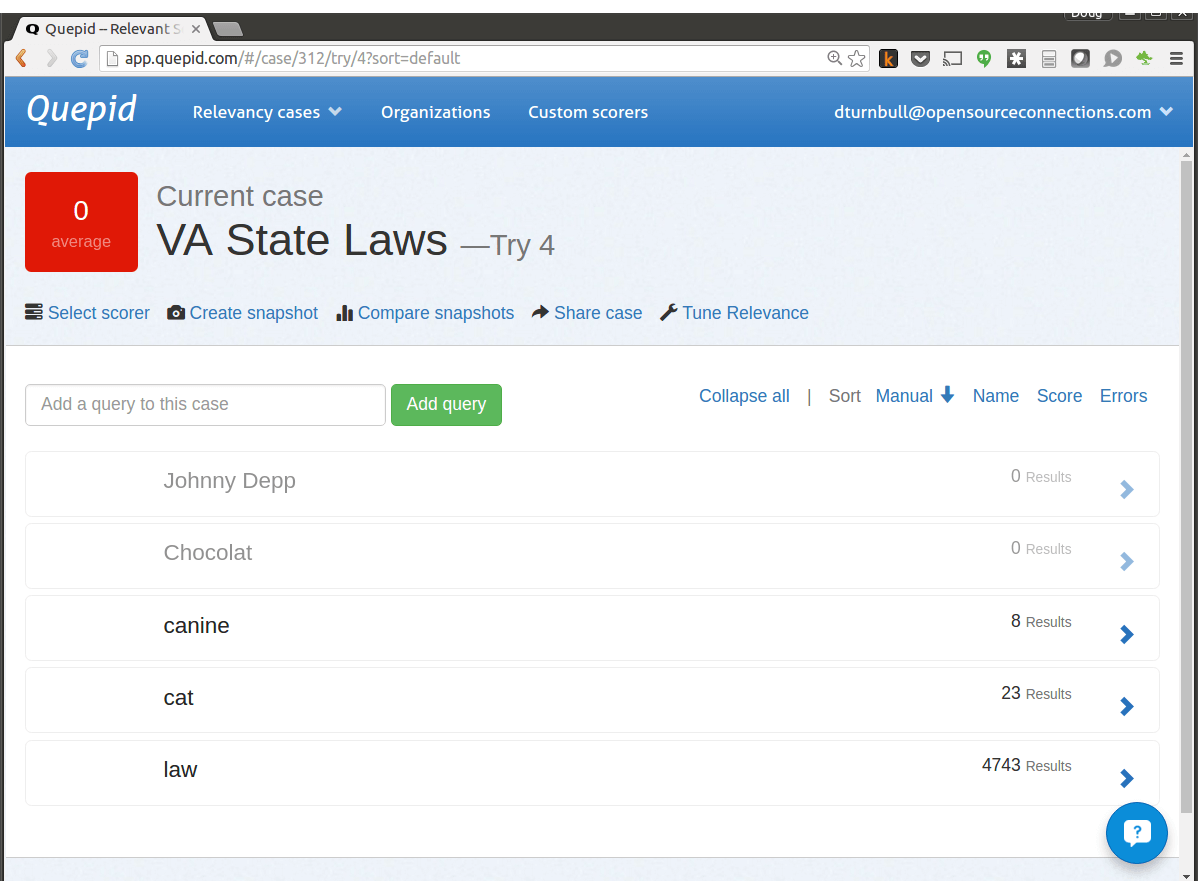
Now to view the snapshot, we simply click Compare snapshots. In this modal, we choose the newly added snapshot:
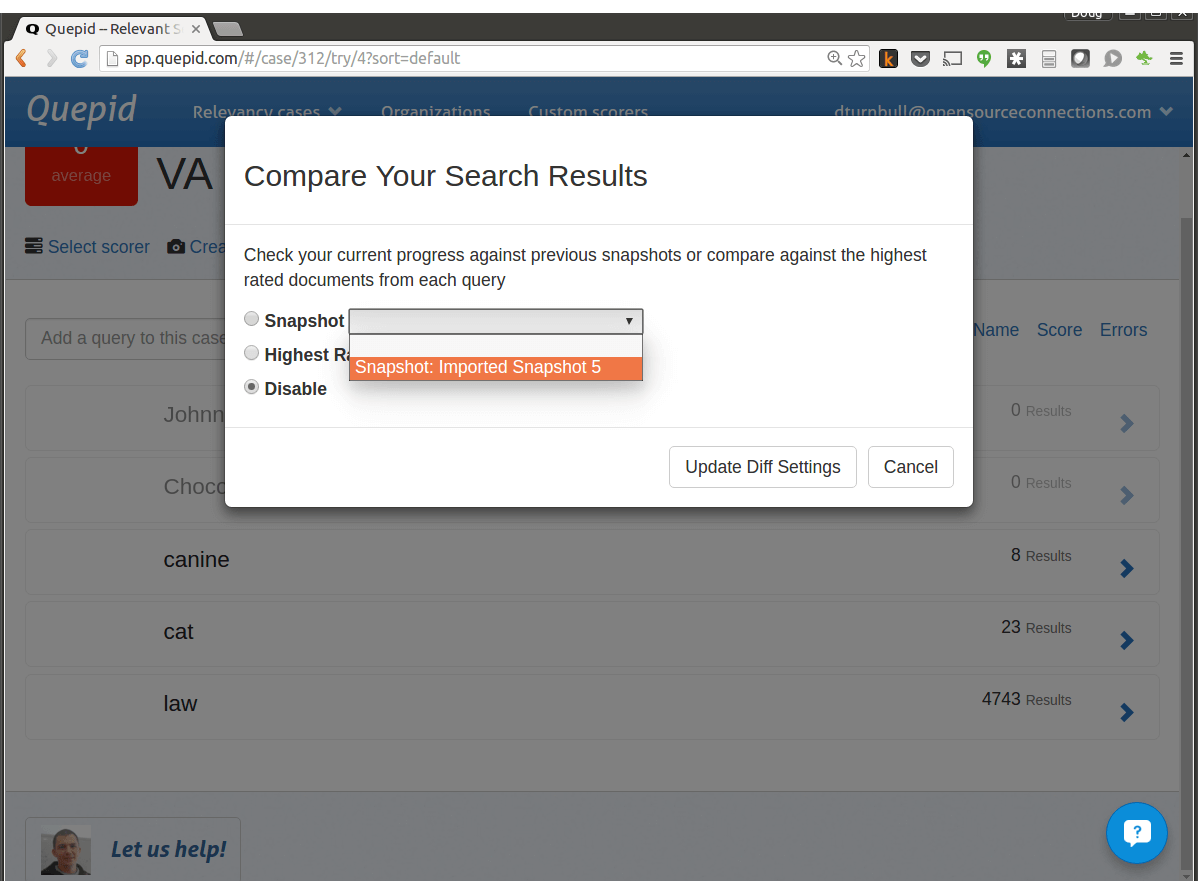
After selecting the snapshot click Update Diff Settings
If you click on a query, you’ll notice there’s two sets of search results now.
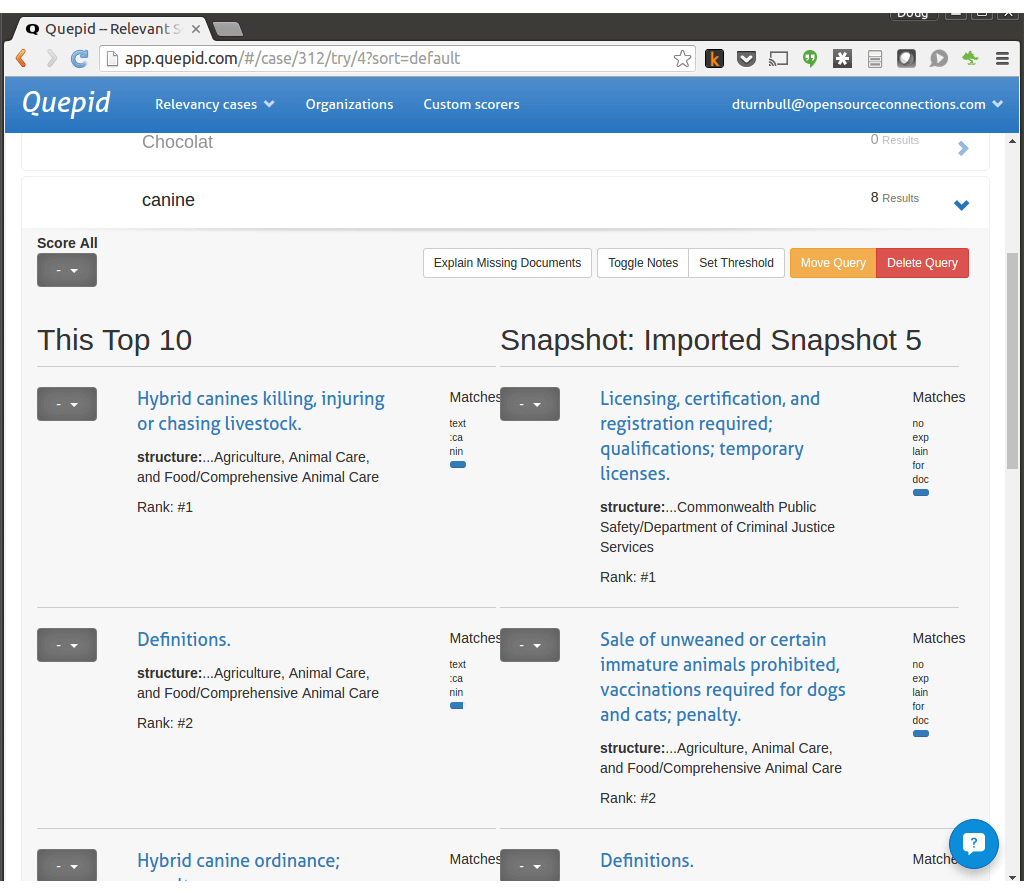
This gives you a way to compare the two different sets of search results, and compare your current work against the legacy search results.